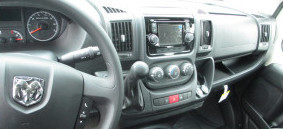
Some TV/DVD player combination units are just perfect for a van! This model, found at the local Best Buy, has a separate 12V transformer to power the unit, so it’s already set up to run on 12VDC. Buying an RV-specific TV/DVD seems to cost three times the price of this 20″ unit.
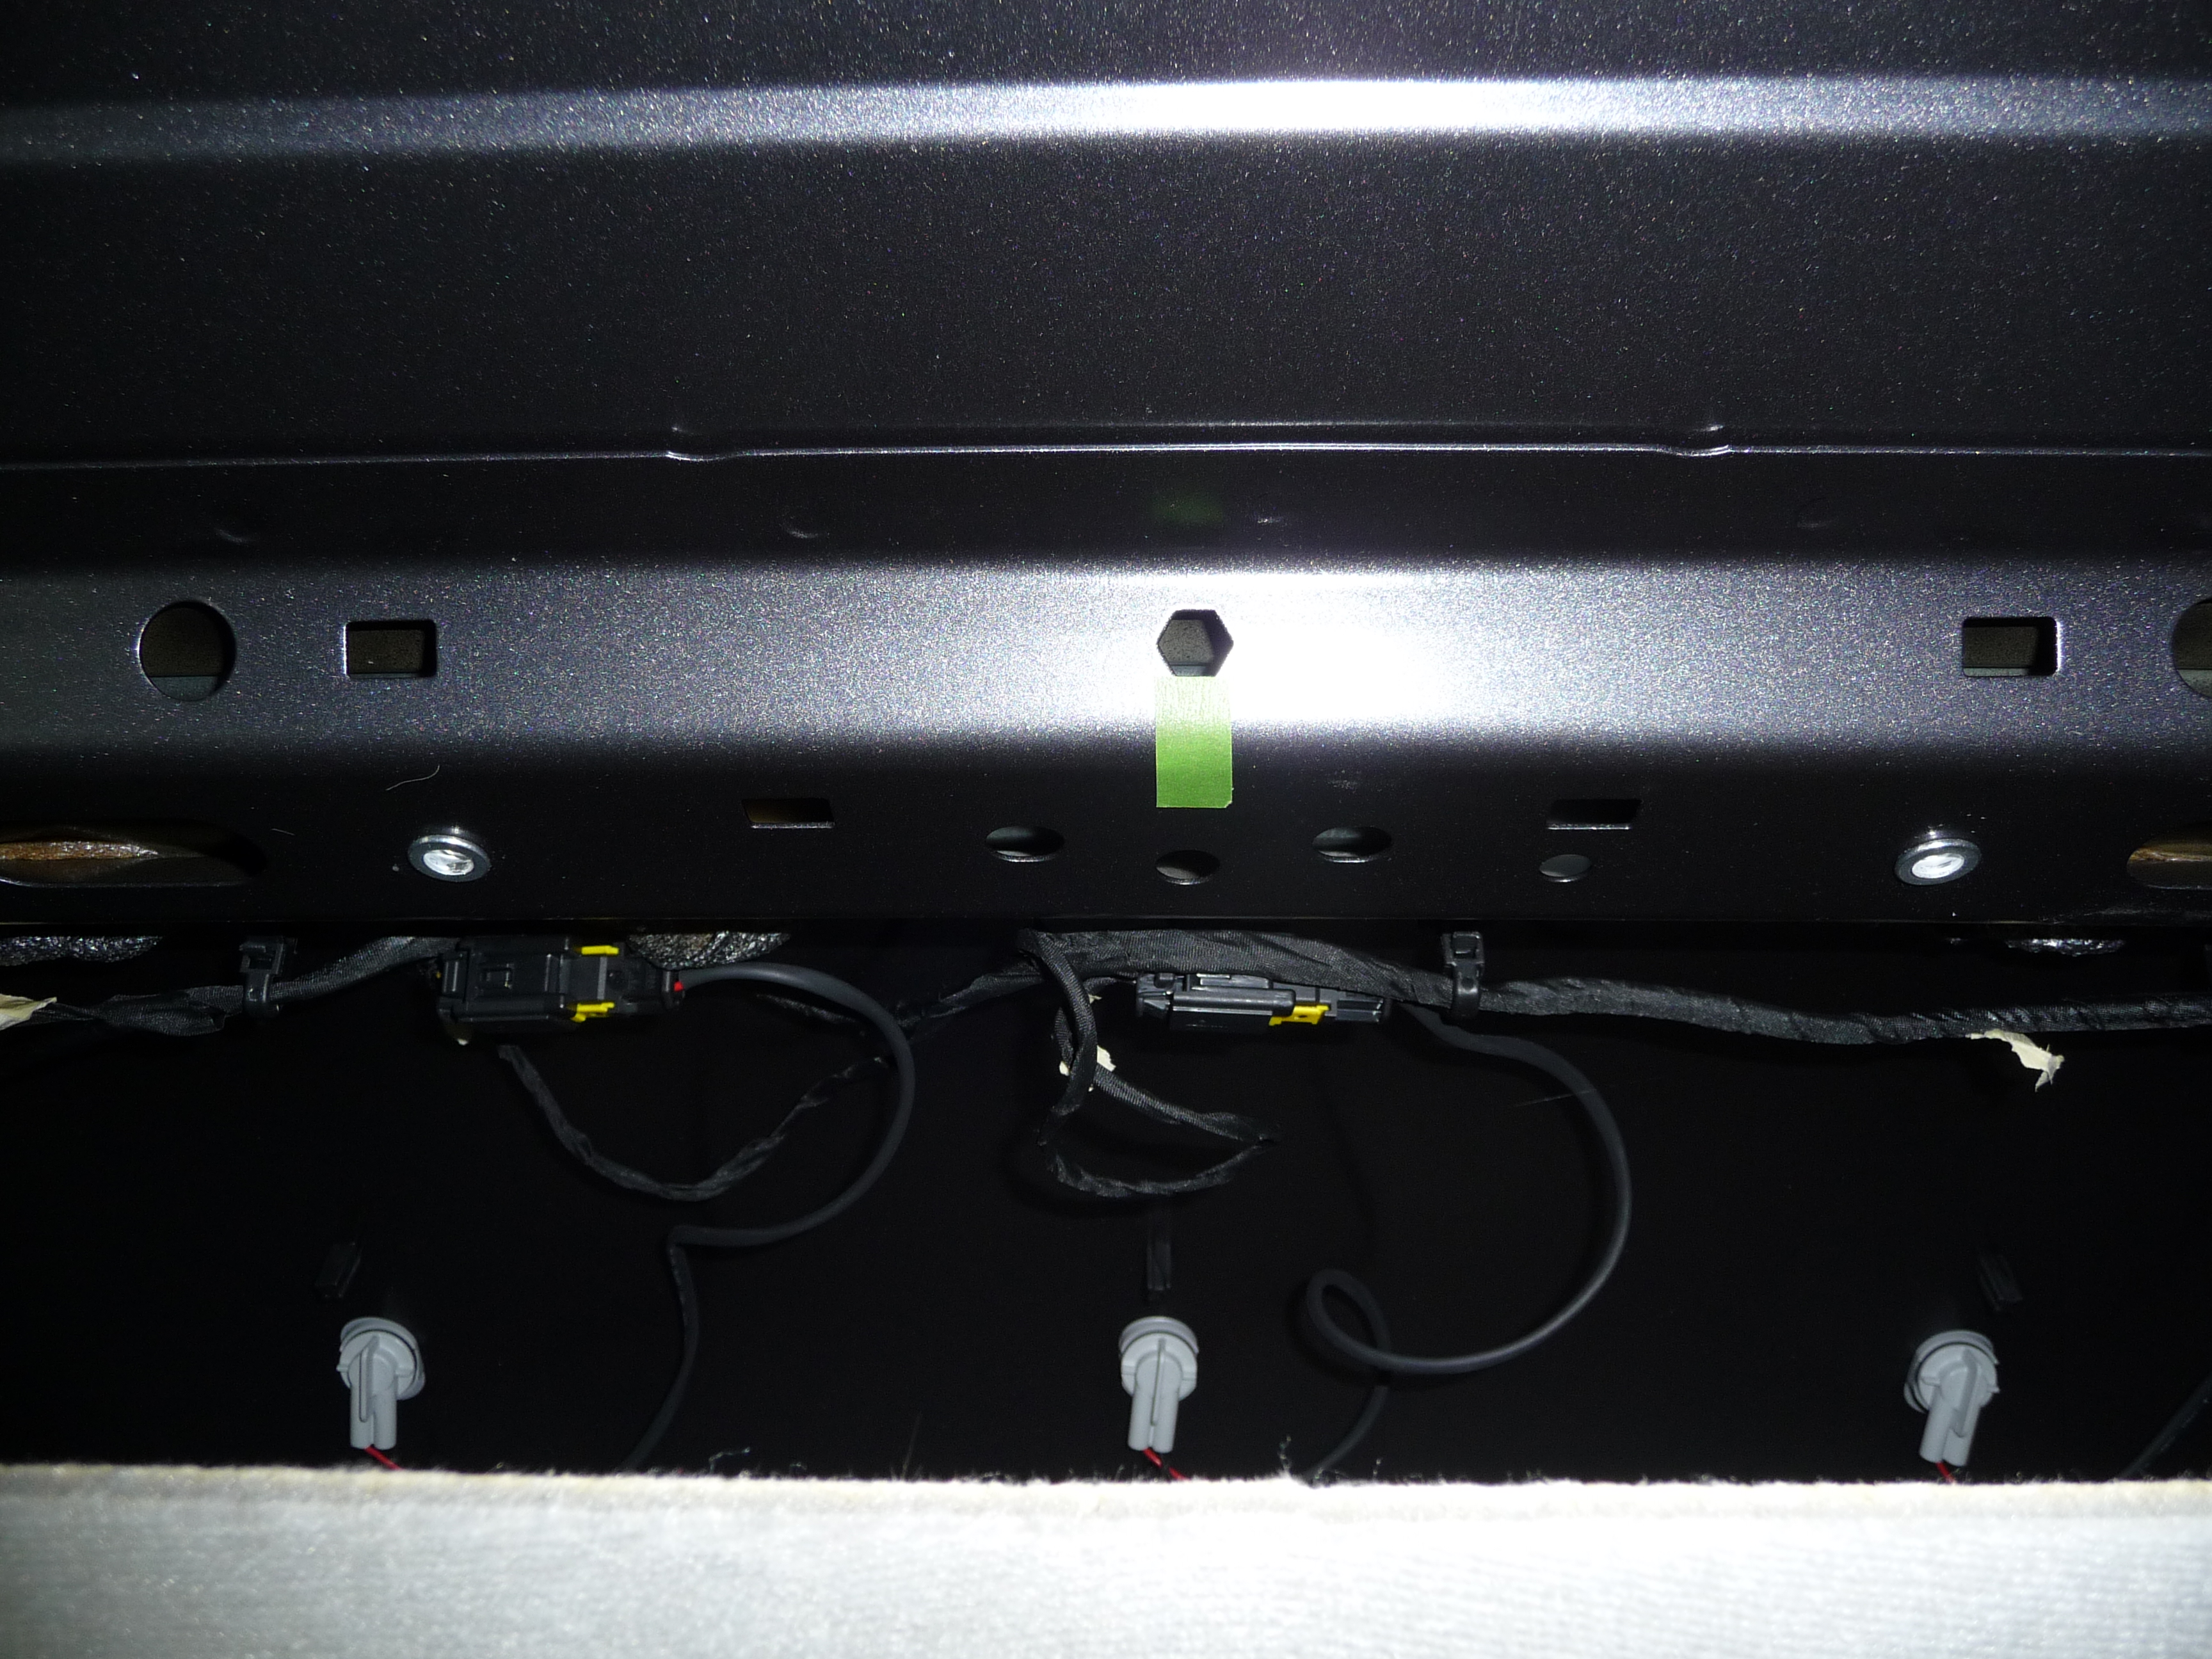
Pulling down on the upper headliner, a roof cross beam is exposed. I inserted two rivnuts (silver) to the left and right of center, in holes where the plastic push clips were inserted to hold the headliner in place.
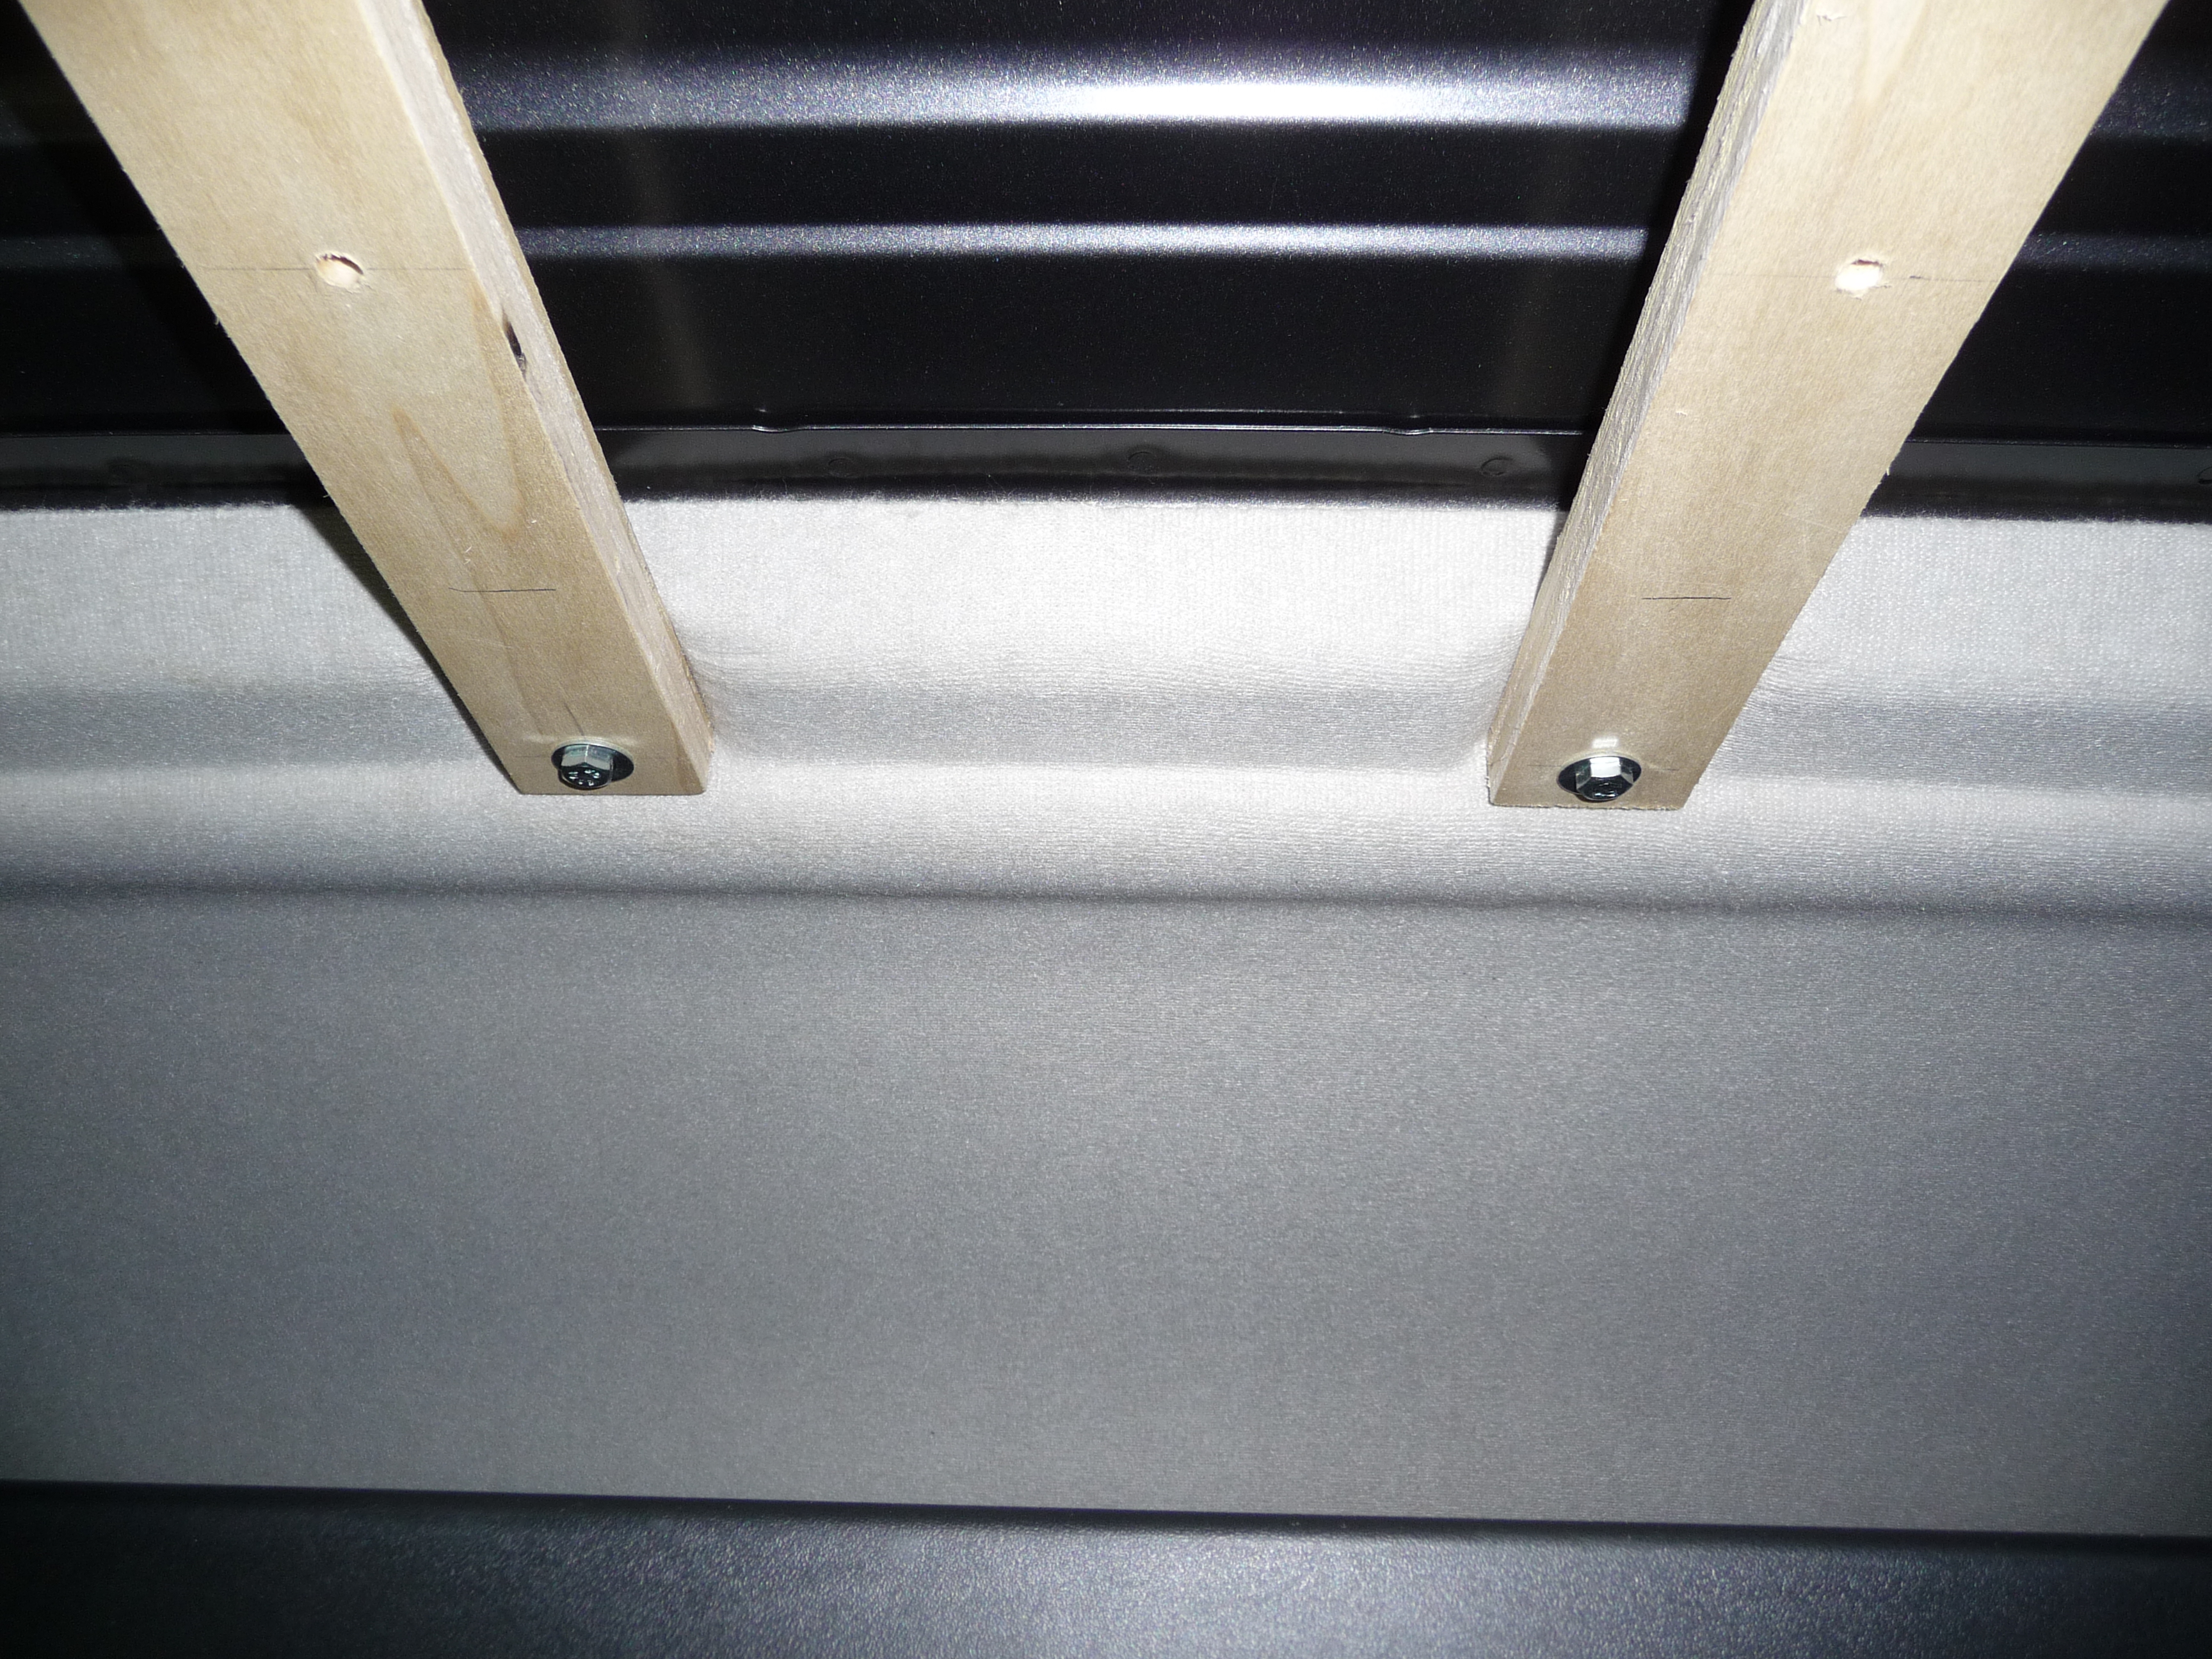
Two 3/4″ plywood x 2″ strips were then attached to the rivnuts with 14-20 bolts. At the other end of the boards, two more rivnuts were installed, and bolted up the other end of the boards.
A cross board and flat 3/4′ plywood backer plate is suspended from the top boards. The 4 holes are spaced to hold the 4 screws that hold the TV in place.
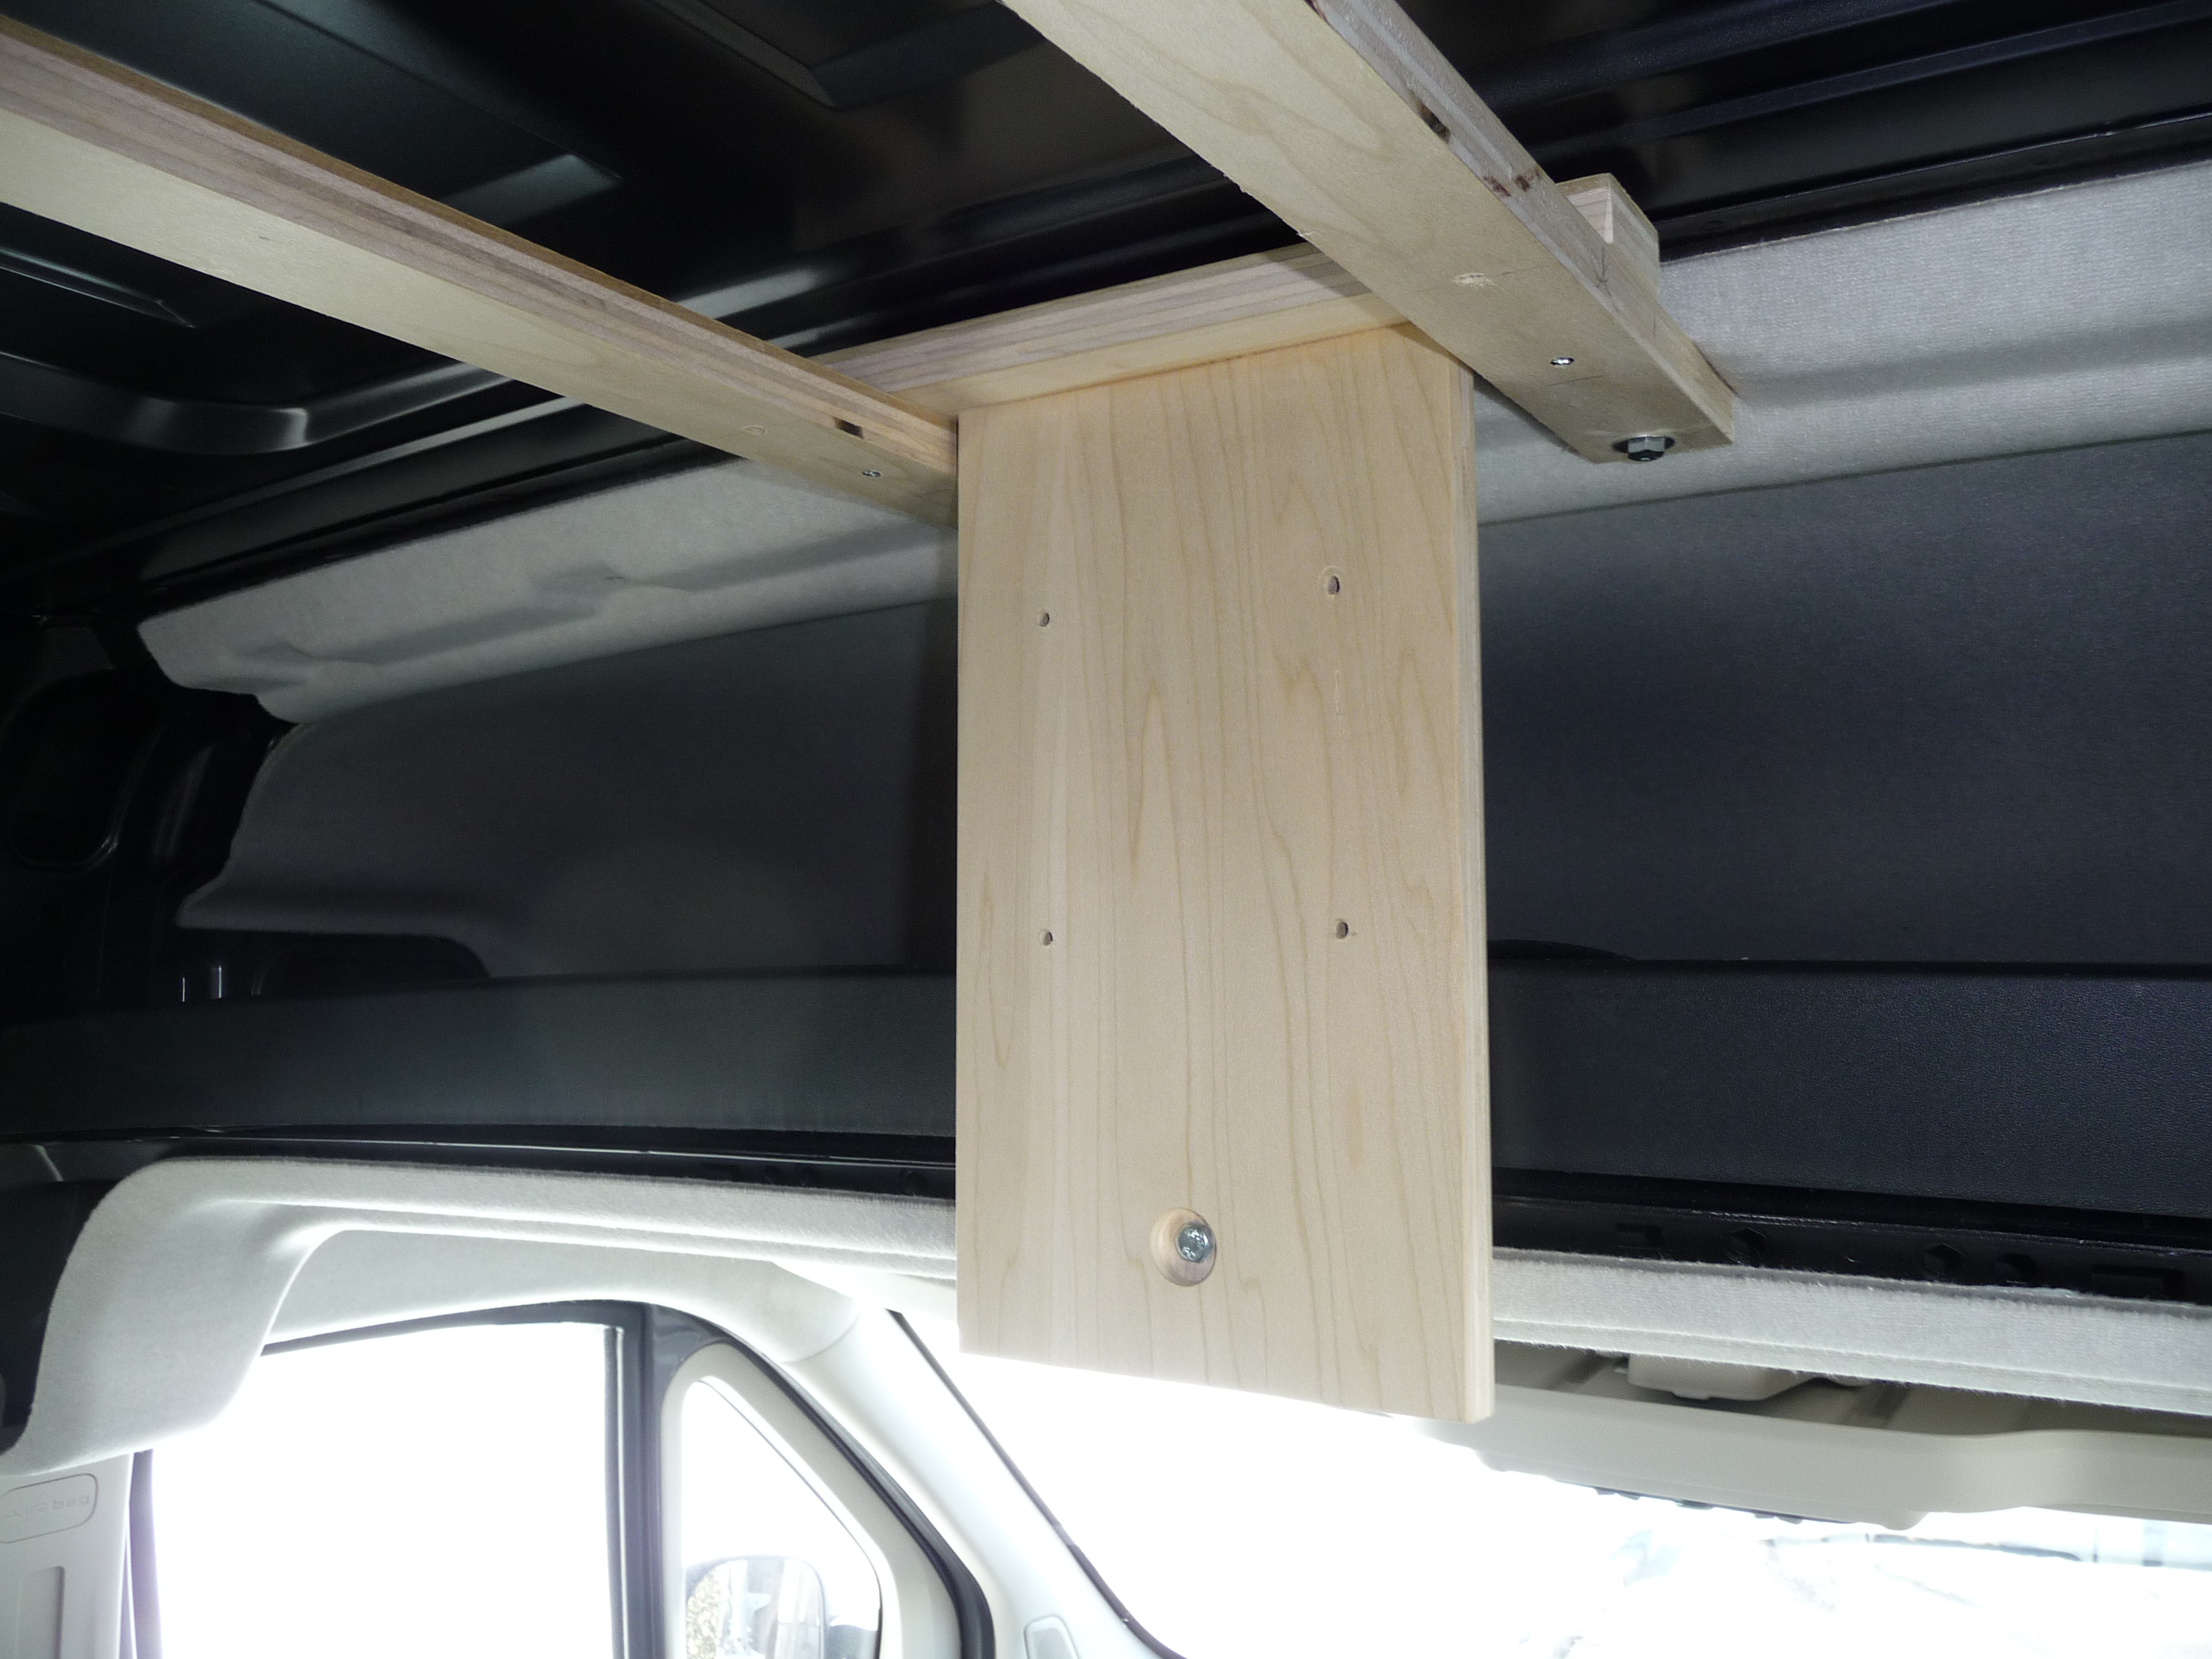
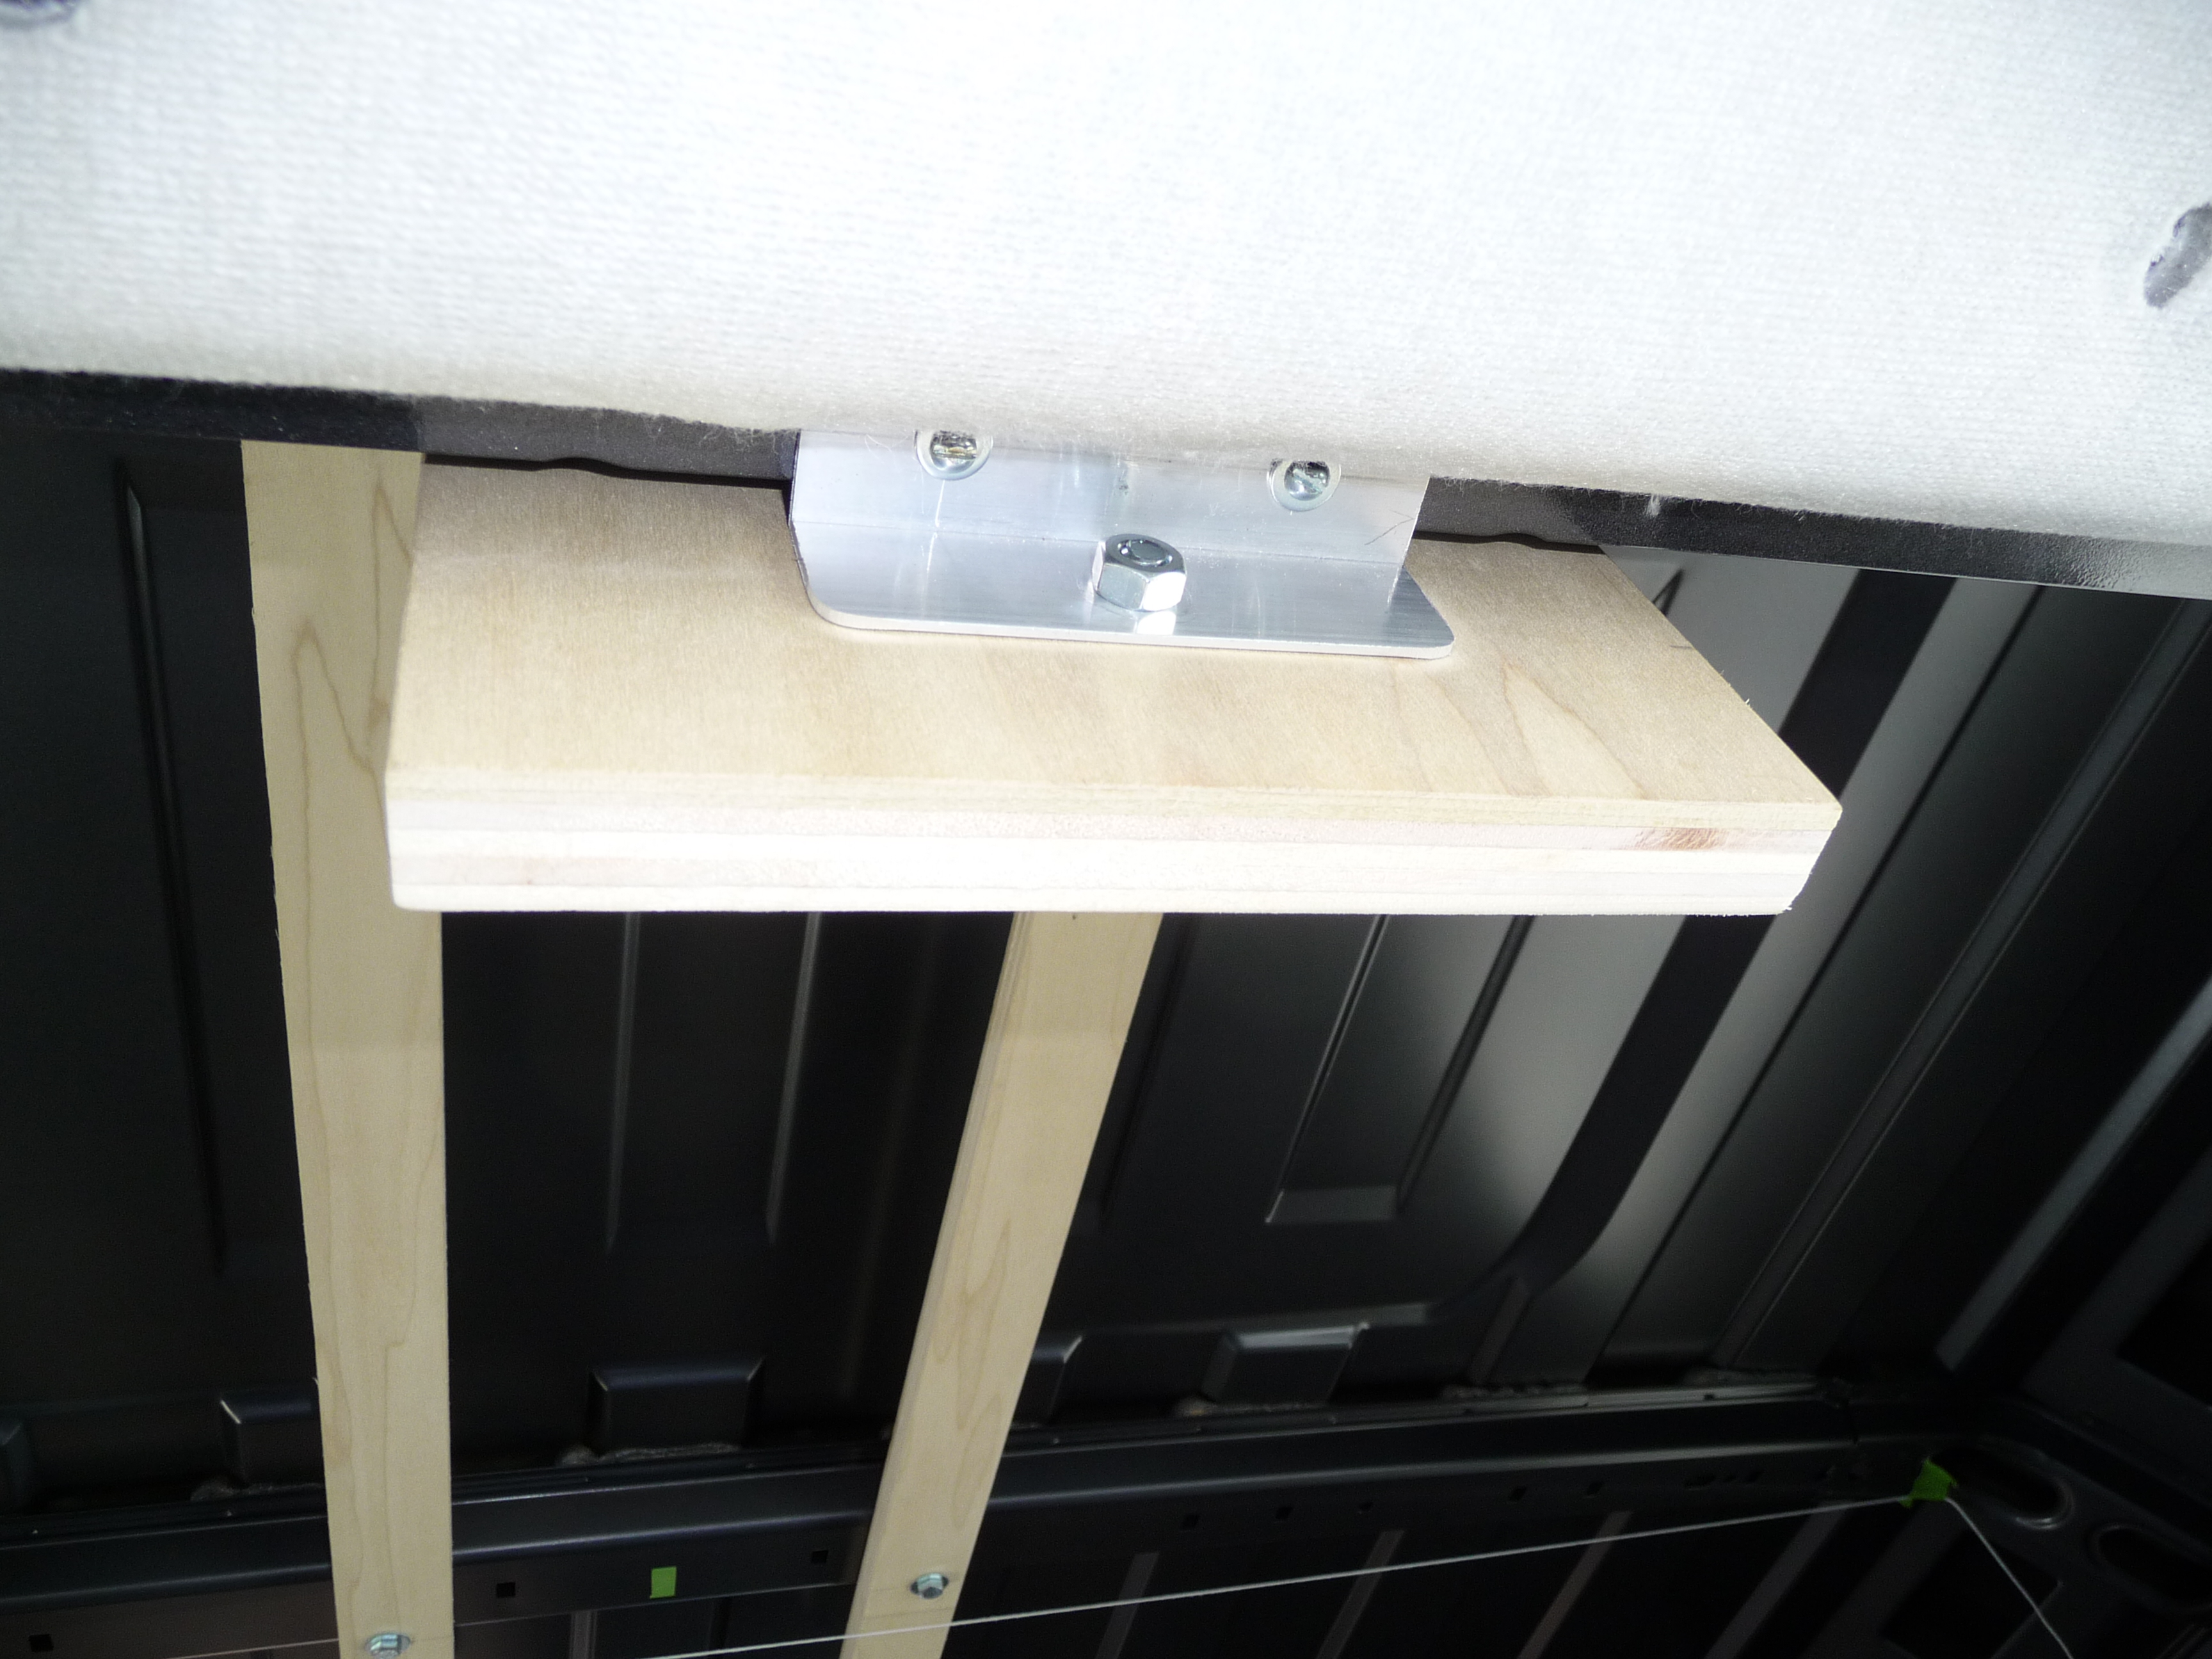
A bottom brace of aluminum was located to hold the bottom of the backer board from moving or vibrating!
…and here’s a look at the TV in position! The bottom of the TV is even with the bottom of the lower headliner.
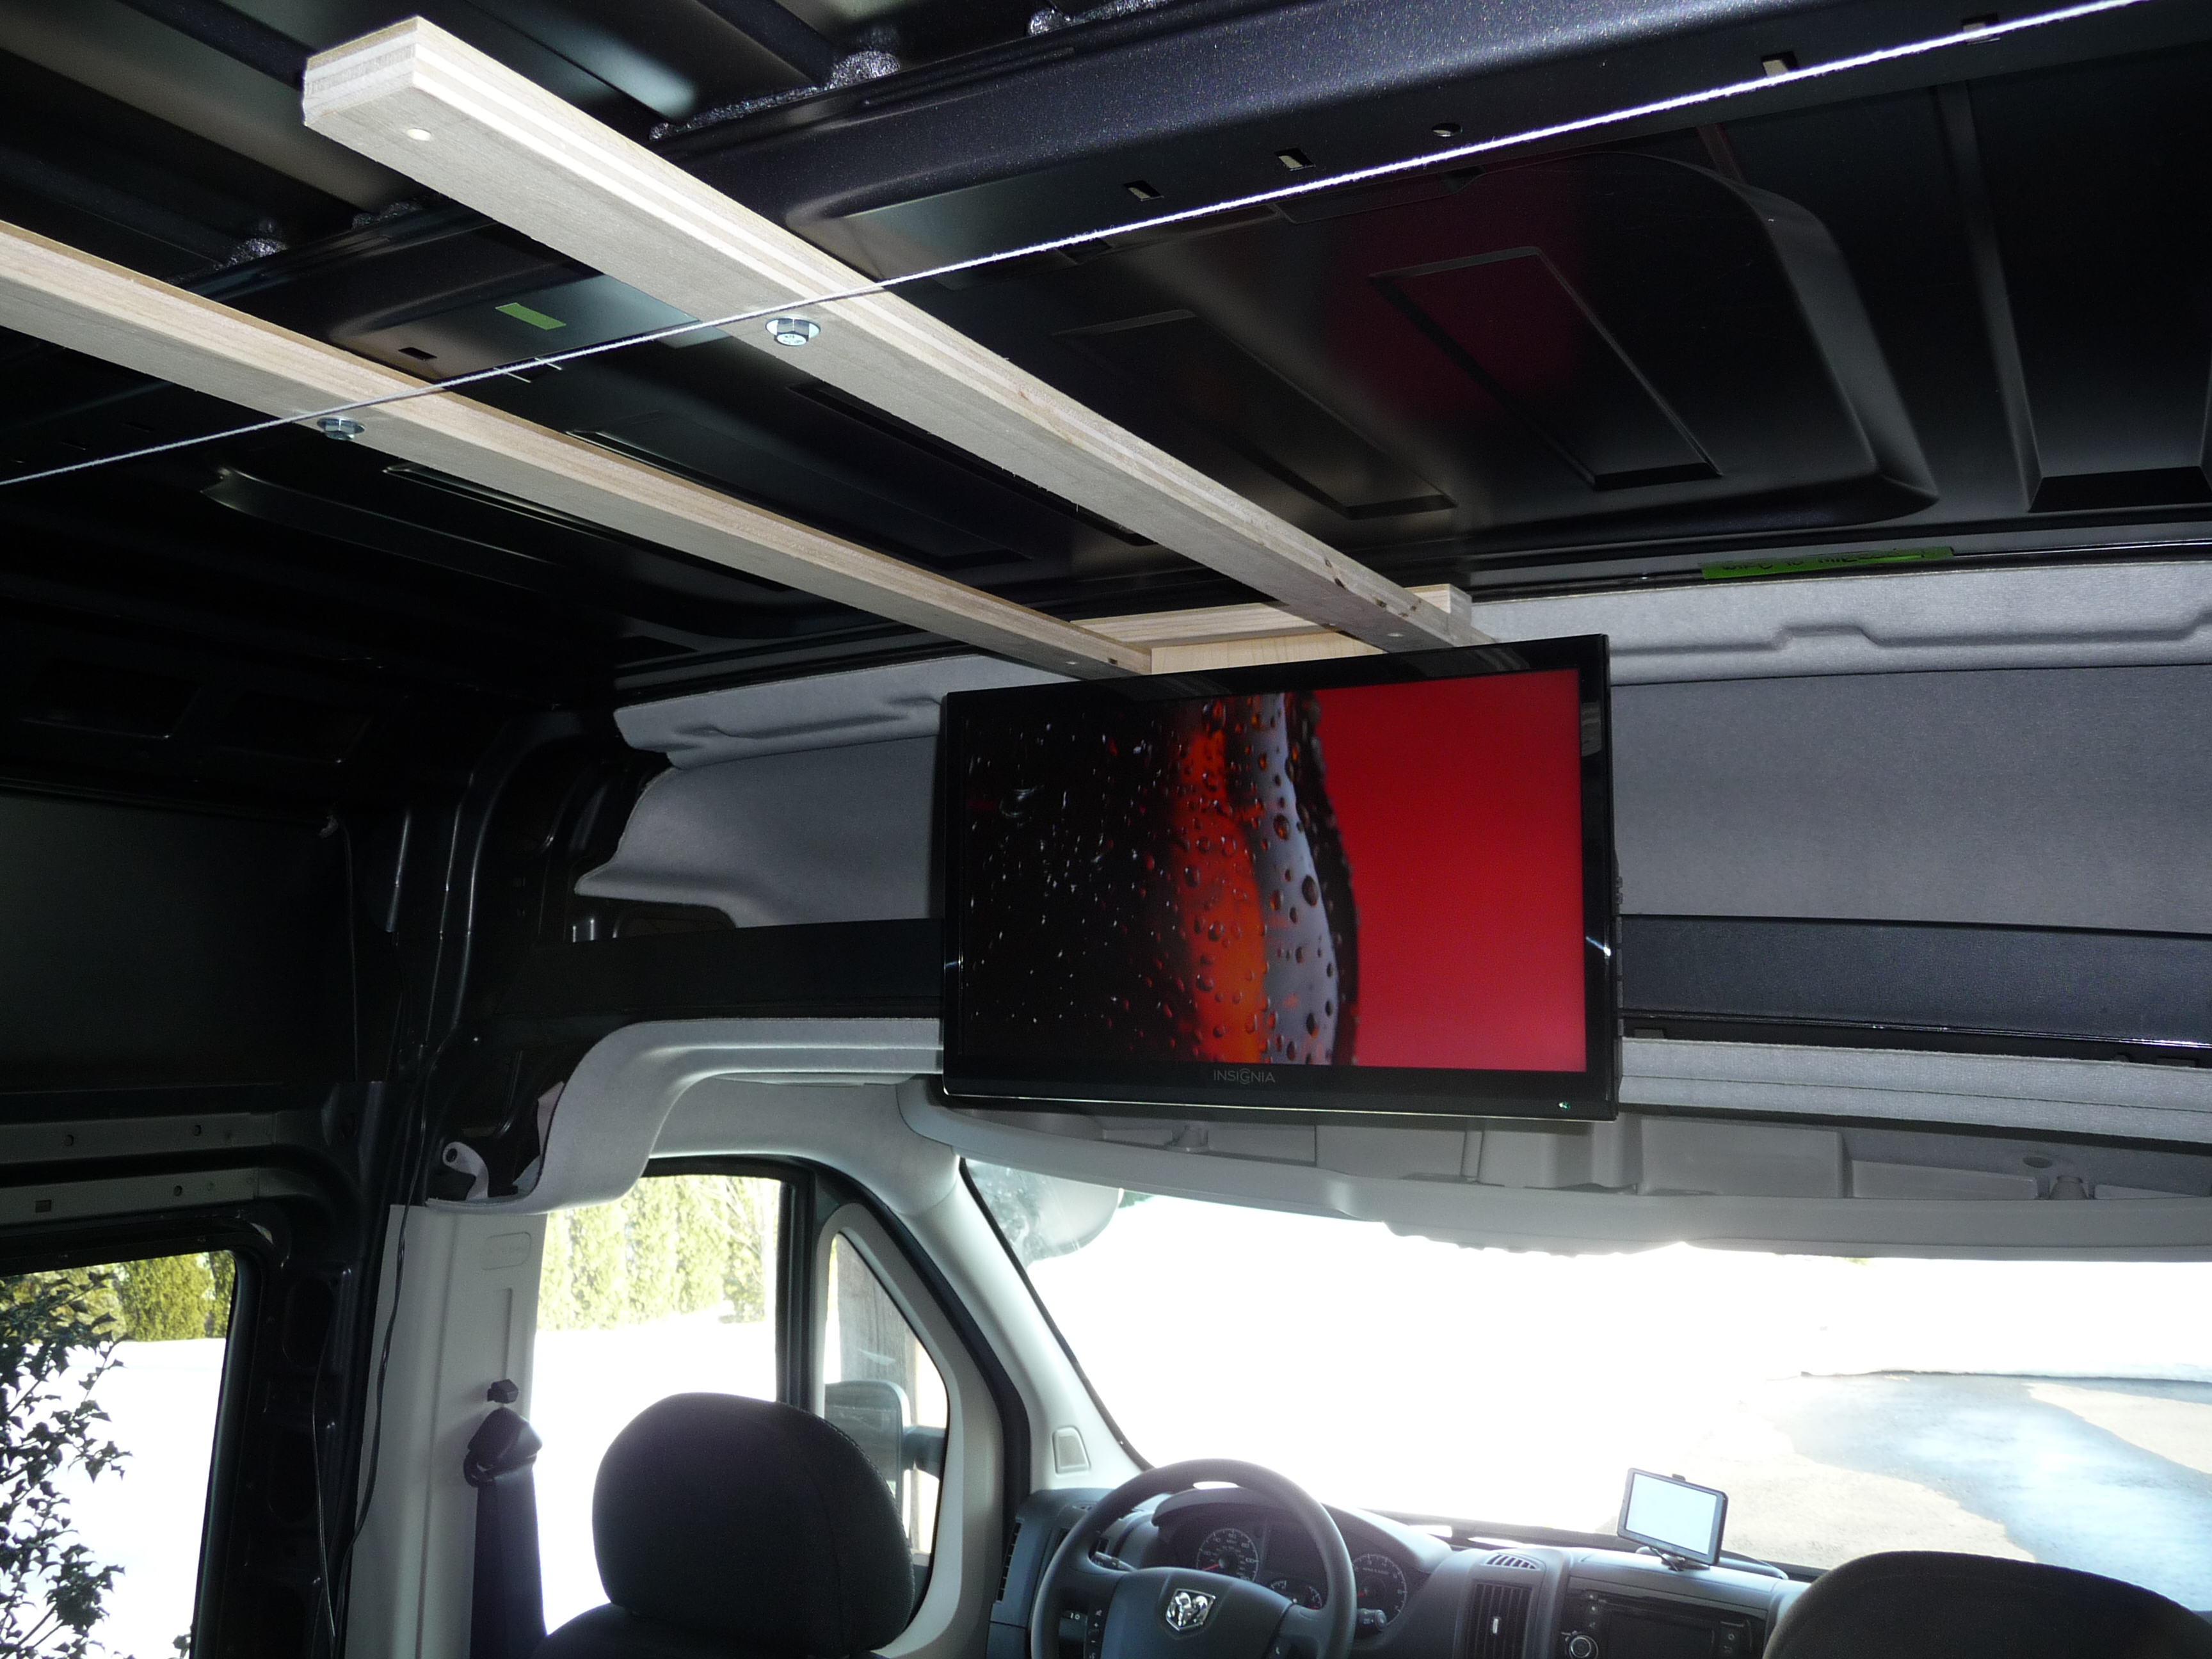
At some point, the finished ceiling will cover the wood support strips.
A 12V power wire is routed down the driver side B pillar to a battery behind the driver’s seat. A magnetic mount antenna, temporarily stuck next to the van window provides about 12 channels of HDTV! No signal? Watch a DVD on the player built into the TV!